A seam ripper is one of the most useful little tools in any sewing kit. Whether you’ve made a sewing mistake or simply need to remove an old seam, this handy tool makes the job much easier.
With a little patience, you can remove unwanted stitches without damaging the fabric.
What Is a Seam Ripper?
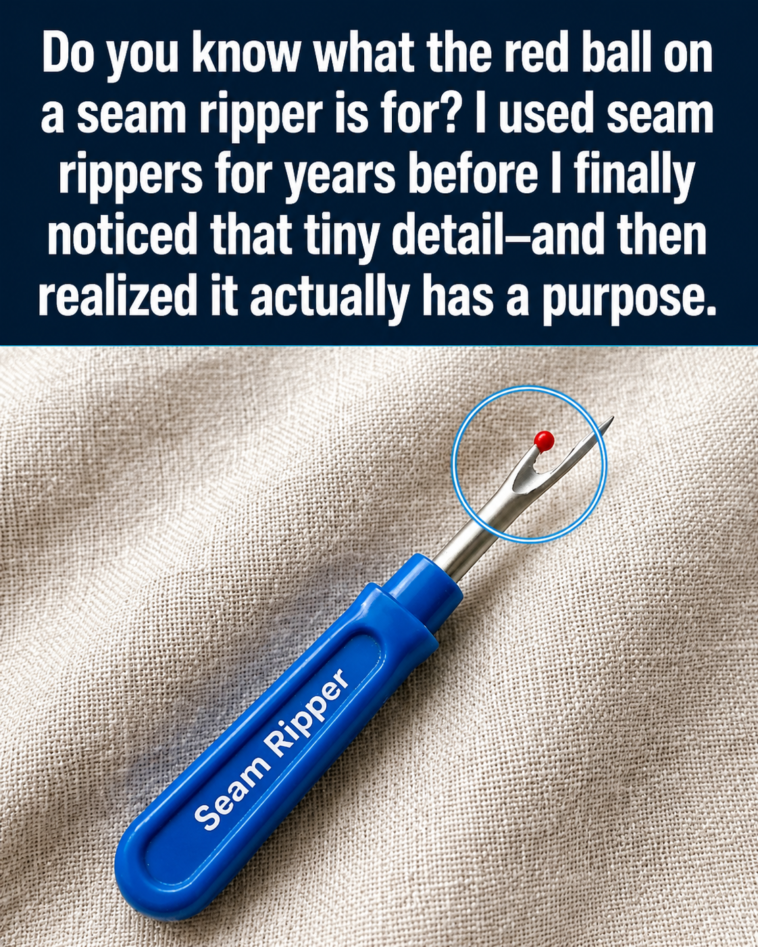
A seam ripper is a small sewing tool designed to cut and remove thread.
It usually has a sharp point, a curved cutting edge, and a rounded tip that helps protect the fabric while you’re working.
How to Remove Stitches With a Seam Ripper
Step 1: Find the Stitches
Turn the fabric so you can clearly see the individual stitches.
Locate the section of the seam you want to remove and make sure you have enough light to see the thread clearly.
Step 2: Slide the Seam Ripper Under a Stitch
Carefully place the pointed end of the seam ripper underneath a stitch.
Keep the rounded tip against the fabric whenever possible. This helps reduce the chance of accidentally cutting the material.
Step 3: Cut the Thread
Gently move the seam ripper forward until the thread reaches the small cutting edge.
Apply light pressure and allow the tool to cut the stitch.
There’s no need to force it.
Step 4: Continue Along the Seam
Repeat the process every few stitches.
Once several stitches have been cut, gently pull the loose thread away from the fabric.
Continue until the unwanted section of the seam has been completely removed.